
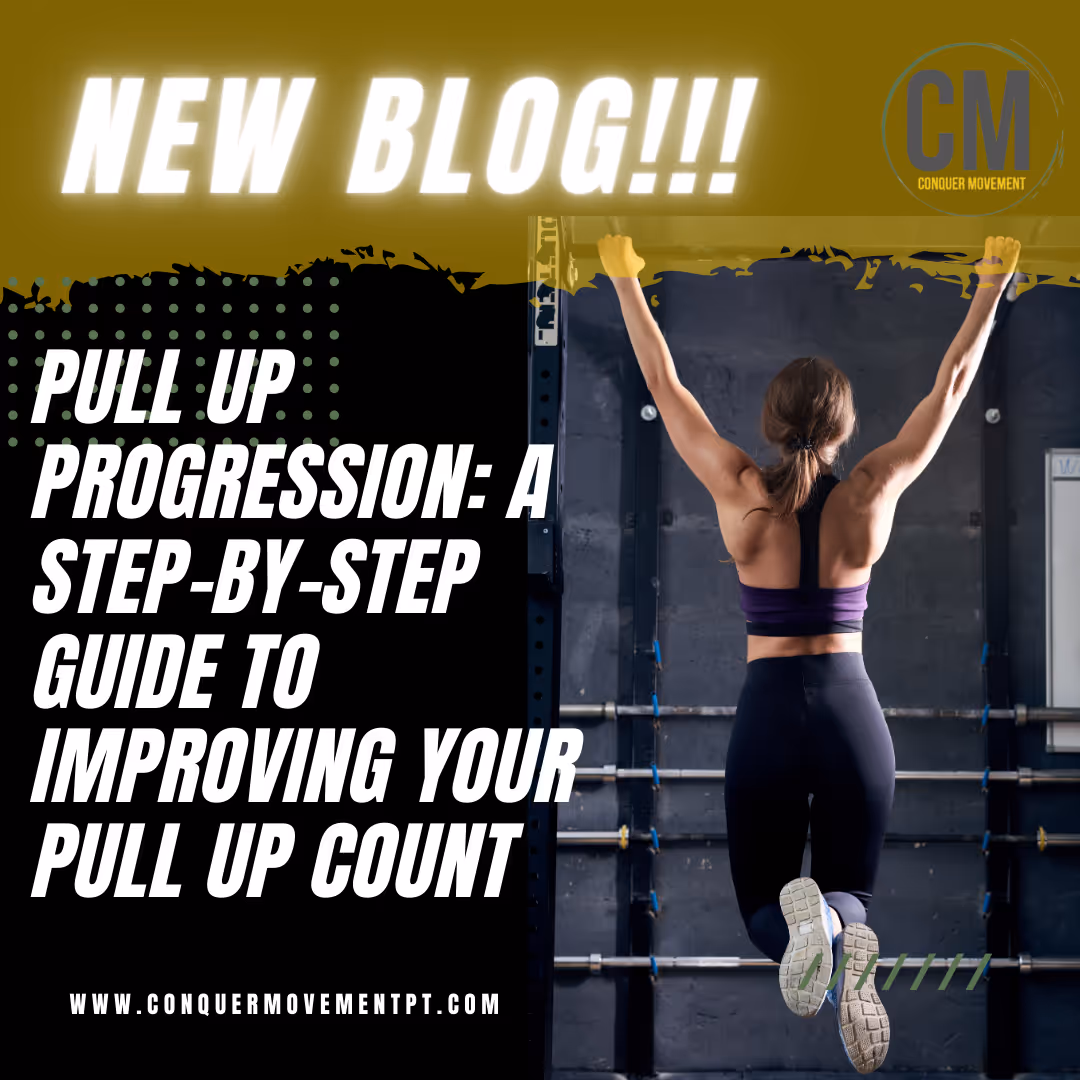
The pull-up: a bodyweight exercise that seems deceptively simple yet can leave even seasoned athletes feeling challenged. But don't be discouraged! As a performance physical therapist, I see many individuals struggle with pull-ups, but with a dedicated and progressive approach, anyone can build the strength and technique to conquer them.
Here's a step-by-step guide to help you progress towards achieving pull-up mastery:
- Foundation is Key:
Before attempting pull-ups, it's crucial to build a solid foundation of strength and stability. This includes exercises that target your lats, biceps, shoulders, and core. Consider incorporating exercises like rows, lat pull downs, planks, and active hangs into your routine. It is important to include single arm variations of these exercises to ensure equal strength in both arms.
Try this row variation to challenge your core stability!
Take note of how I set my shoulder blades before performing this banded lat pull down drill and during this single arm version, this positioning will be key during the next steps!
- Active Hang:
The active hang is a great starting point for all pull-up progressions. Grasp the bar with an overhand grip, arms shoulder-width apart. Engage your core and imagine sliding your shoulder blades into your back pockets to create a straight line from head to toe. Start with scapular pull ups, shown here with precision, by Functional Bodybuilder Marcus Filly.
Once you feel comfortable performing reps of scapular pull ups, you can work on an active hang, which is holding the top position for an extended period. Aim to build up to 10-30 second intervals.
- Negative (eccentric) Pull-up:
Negative pull-ups focus on the lowering phase of the movement, which is often the hardest part. Start from the top position by stepping from a box or bench so your chin is above the bar, and slowly lower yourself down with control. Aim to take at least 5 seconds to lower yourself! Aim for sets of 3-5 repetitions, focusing on maintaining good form throughout the descent.
- Assisted Pull-up:
Many would argue to perform assisted pull-ups before a negative pull up. However, I believe the negative will build more strength than using a band to help. Once you feel comfortable with negatives, use as little band support as possible to perform the full range pull ups. Use a resistance band looped under your knee or foot, or use a pull-up assist machine to reduce your body weight and allow you to practice the full pull-up motion with proper form.
- Strict Pull-up:
The holy grail! Once you can comfortably perform several assisted or negative pull-ups, it's time to attempt the full, strict pull-up. Remember, form is crucial. Engage your core, set your shoulder blades, and pull yourself up until your chin clears the bar. Lower yourself down with control. Start with sets of 3-5 repetitions and gradually increase as you get stronger.
Remember:
- Progression is key: Don't rush the process. Start with exercises you can perform with good form and gradually increase the difficulty as you get stronger.
- Focus on form: Prioritize proper form over the number of repetitions. A well-executed pull-up is far more beneficial than a sloppy one.
With consistent effort and the right approach, you'll be well on your way to achieving your pull-up goals!
In good health,
Dr. Eliza Cohen
Performance Physical Therapist + Wellness Consultant
Wilmington, NC
Follow here for more performance and nutrition tips: @conquermovementpt @doctor_cohen14